
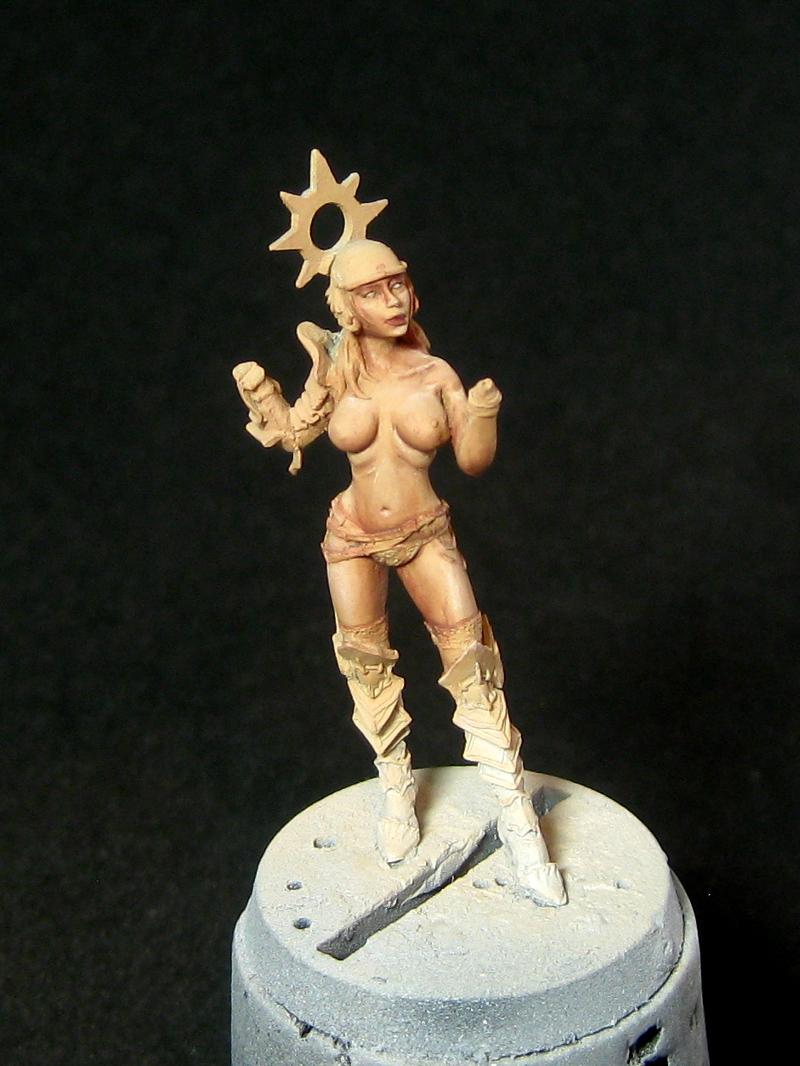
The first thing I work on with a miniature like this are the flesh tones. They are the largest area of colour and also the deepest layer (the armour etc are worn on top of the skin). In my opinion, painting flesh tones first also helps set the tone for the rest of the miniature.
Paints used:
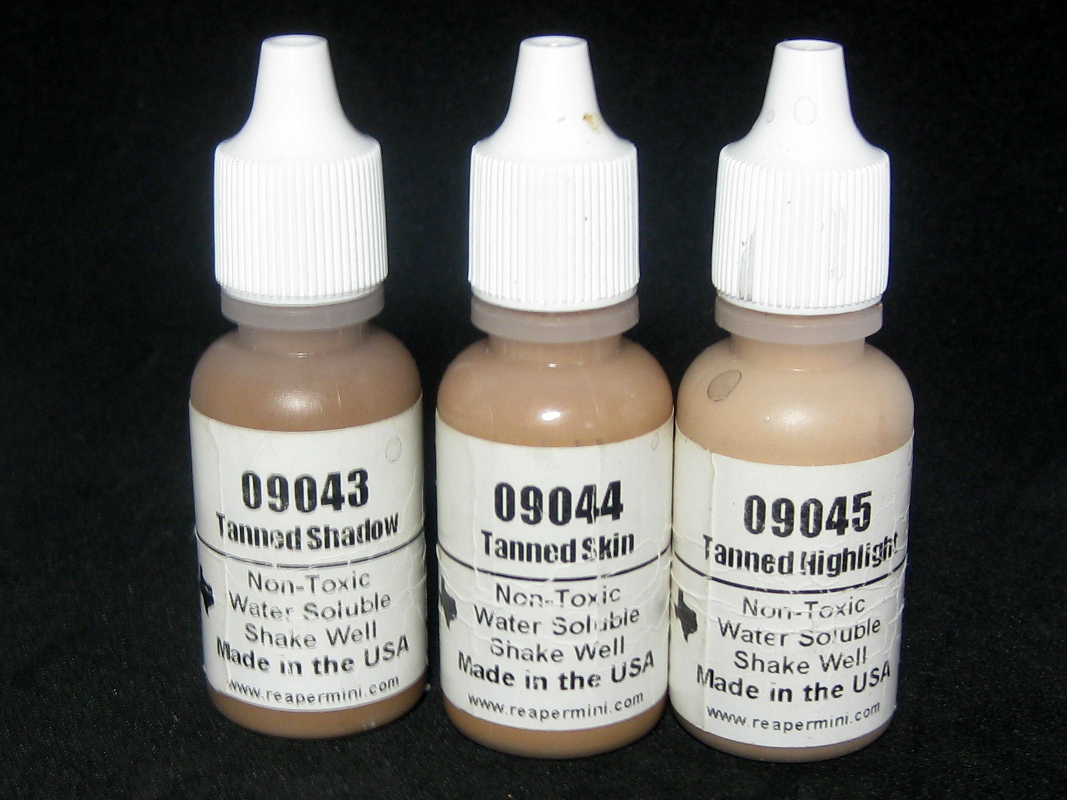
Reaper Tanned Skin, Tanned Shadow and Tanned Highlight (the Tanned Flesh Triad)
Foundry Dusky Flesh
P3 Sanguine Base
P3 Coal Black
P3 Carnal Pink
VMC Ivory
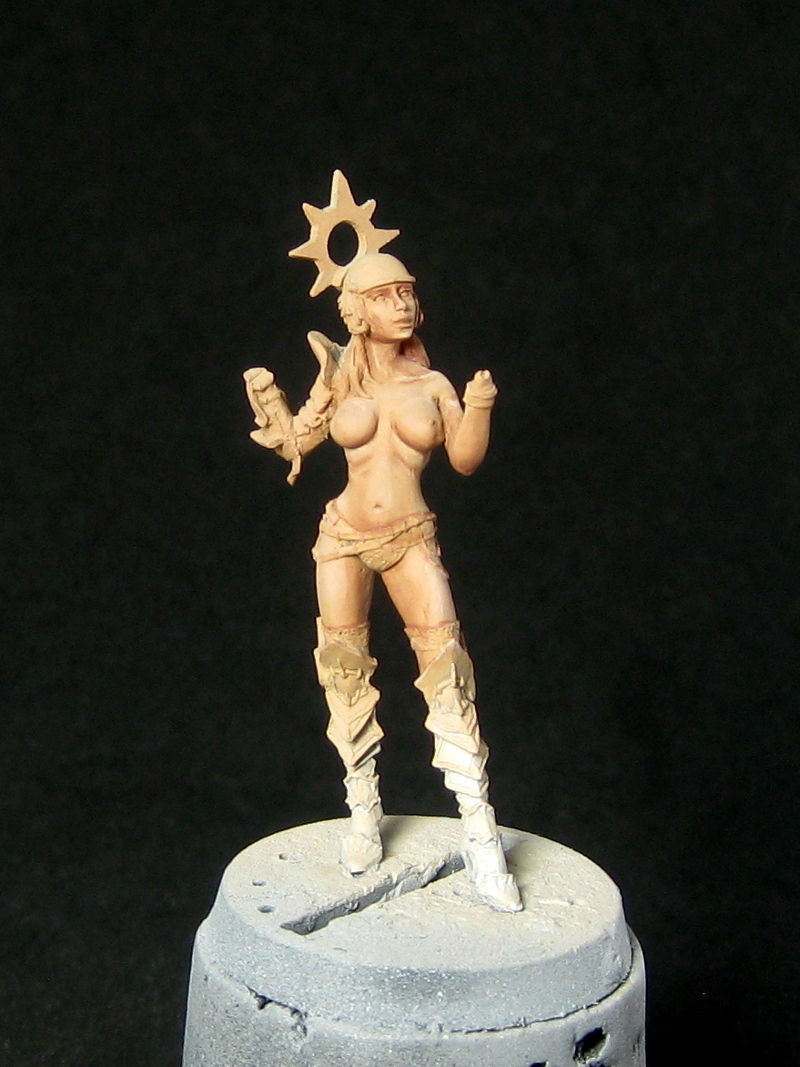
The first step is to get a good even coverage of Reaper Tanned Skin (the middle paint in the triad). In this instance, I used my airbrush to get an even coat very quickly. You could easily do this by hand with well diluted paint, in a number of layers – making sure to let each layer dry before applying the next (a hair dryer can be really helpful in these situations).

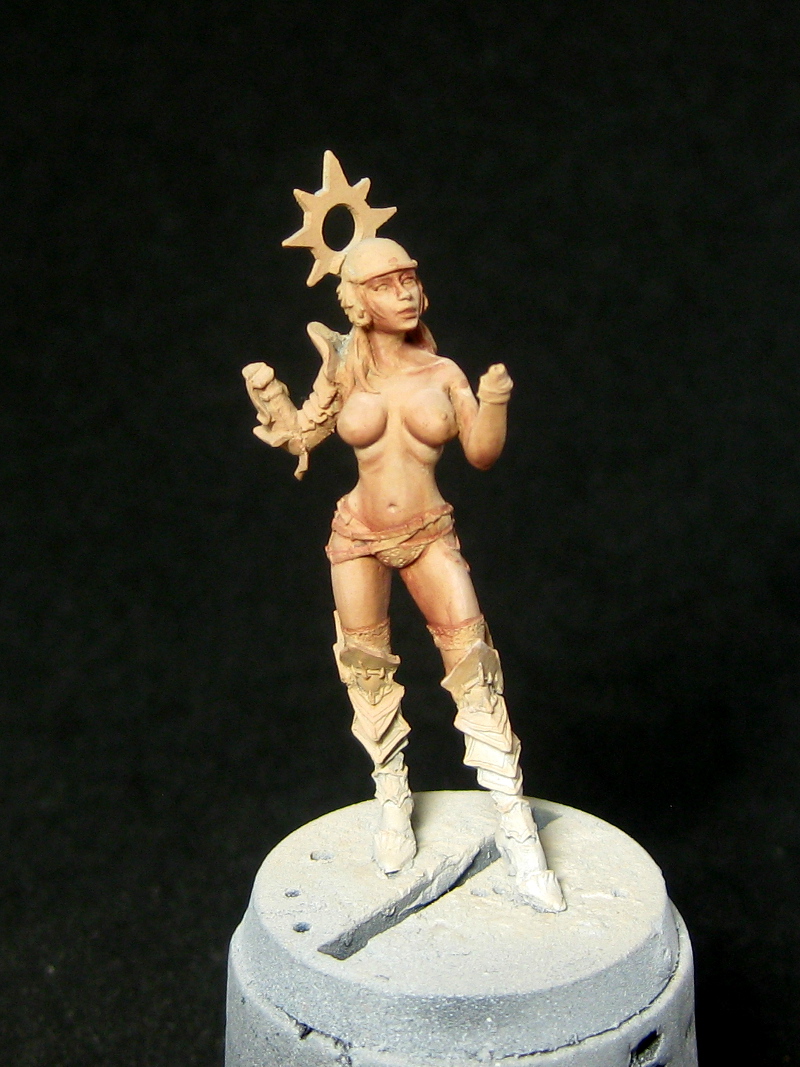
Once you are happy with the coverage, move on to the Reaper Tanned Shadow. I used a normal sable brush for this and thinned my paints to the point that I could see the pallet beneath. I then started to define the volume of the muscles with the shade. The real benefit of using the Reaper triad is that the colours are all pretty close so you can be quite free and easy at this stage as you will easily be able to fix mistakes as you go along (it also makes it a little tricky to photograph the difference between these first three steps). You can see how close they are here:
I try and paint with overhead ‘global’ lighting in mind so concentrated my shadows on the underside of areas such as her biceps, belly and neck (and the obvious). I made a few passes with this colour, building up the shadow each time.

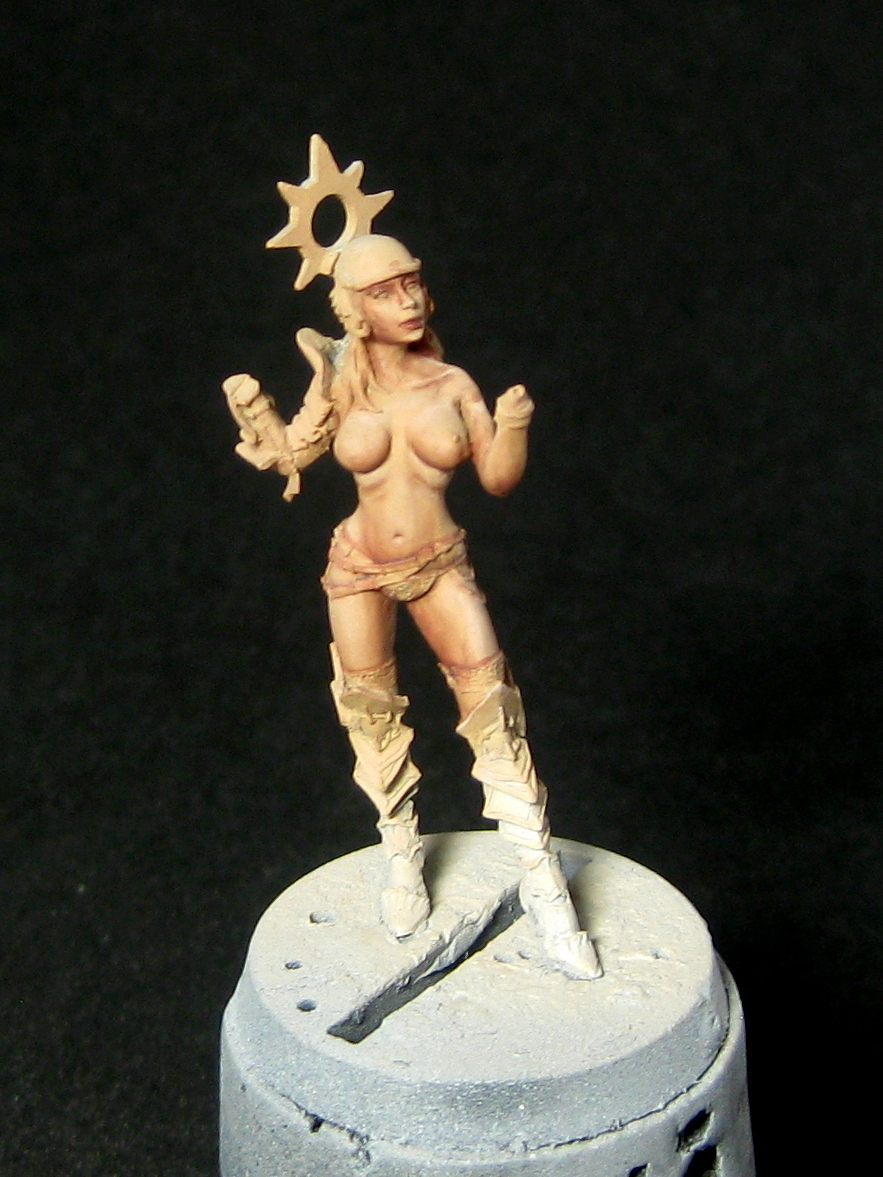
The next step is the first highlight layer (I tend to swing between shadows and highlights in this way to try and make sure I keep a balance between light and dark). For this I use Reaper Tanned Highlight thinned to a similar consistency as the shade and paint in the areas opposing the shadow – the tops of muscles, chin, nose etc.
At this point you have a very basic set of shadows and highlights, and the next steps revolve around emphasising this further to make the model really three dimensional. At this stage, I spend some time on the shadows using three different paints (Dusky Flesh by Foundry, and Sanguine Base and Coal Black by P3) and work them onto the model in a similar way to the first shade. You will see how the depth of colour builds up with each stage without it ever really looking like I have used a dark red and a dark teal.
Dusky Flesh:

Sanguine Base
Coal Black:
I took a photo of my pallet at this point because I thought it might help to show how transparent the paints are. The paints are, from left to right, Dusky Flesh, Sanguine Base and Coal Black.

Now back on to the highlighting. I use a mix of the Reaper Tanned Highlight and Vallejo Model Colour Ivory and pick out progressively smaller highlights as I work more Ivory in to the mix. One thing which really hasn’t shown up well in the photos is the pale pink I have used sparingly on her face. Her cheeks and nose have been highlighted with P3 Carnal Pink.

Then, using paint I still had on my pallet, I painted in some of the details – her eyes were painted in with the Ivory mix, with Coal Black pupils; her lips with Sanguine Base highlighted with Carnal Pink; and her nipples were painted in Dusky Flesh highlighted with the Ivory/Tanned Highlight mix.
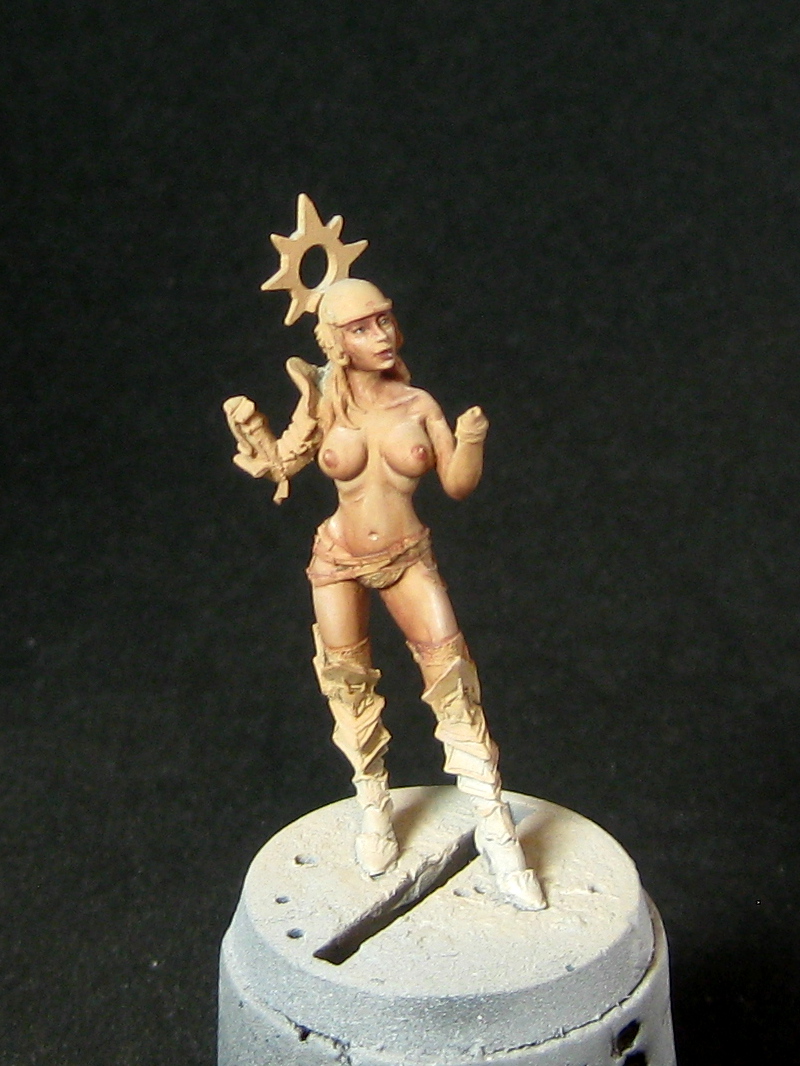
I suspect I will need to go in and highlight some more once I have painted in the rest of the details, but for now, I am treating the flesh as complete.
Paints I used –> Rough GW equivalent
Reaper Tanned Skin –> Cadian Fleshtone
Reaper Tanned Shadow –> Bugmans Glow
Reaper Tanned Highlight –> Cadian Fleshtone + Pallid Wytch Flesh (50:50)
Foundry Dusky Flesh –> Doombull Brown
P3 Sanguine Base –> Carroburg Crimson? (this is a GW Shade)
P3 Coal Black –> Stegadon Scale Green
P3 Carnal Pink –> Emperor’s Children + White
VMC Ivory –> Pallid Wytch Flesh

Fantastic!
Thank you Fernando 🙂