
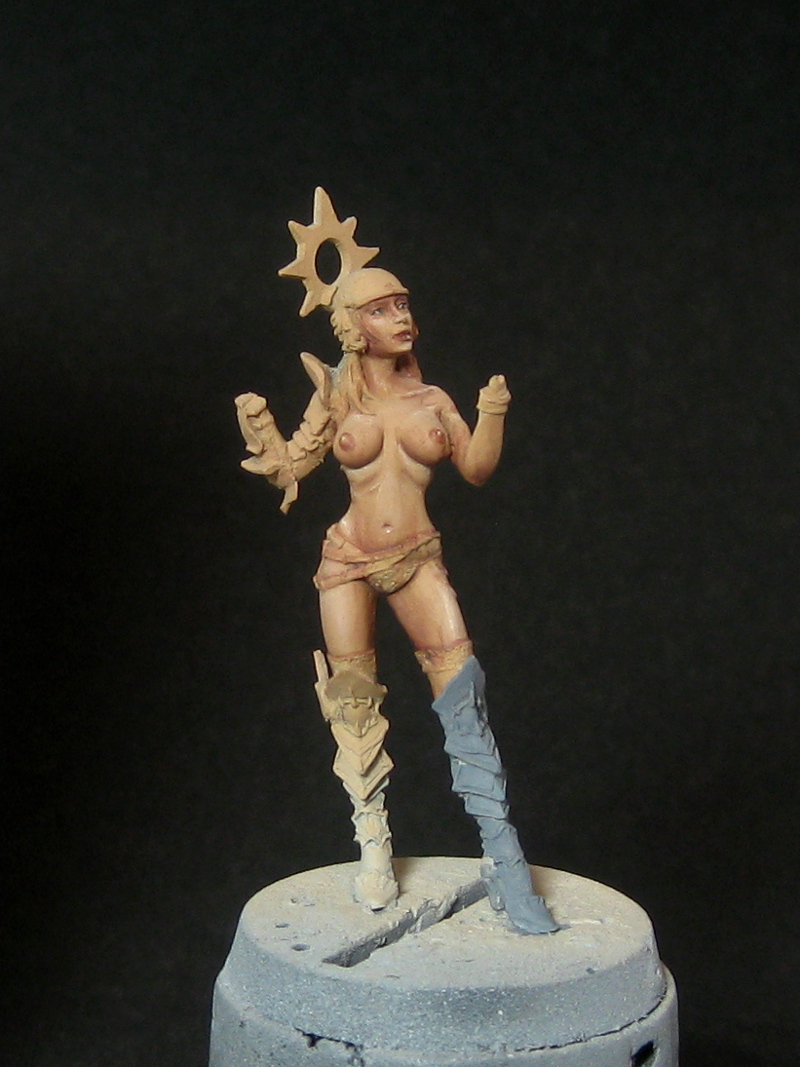
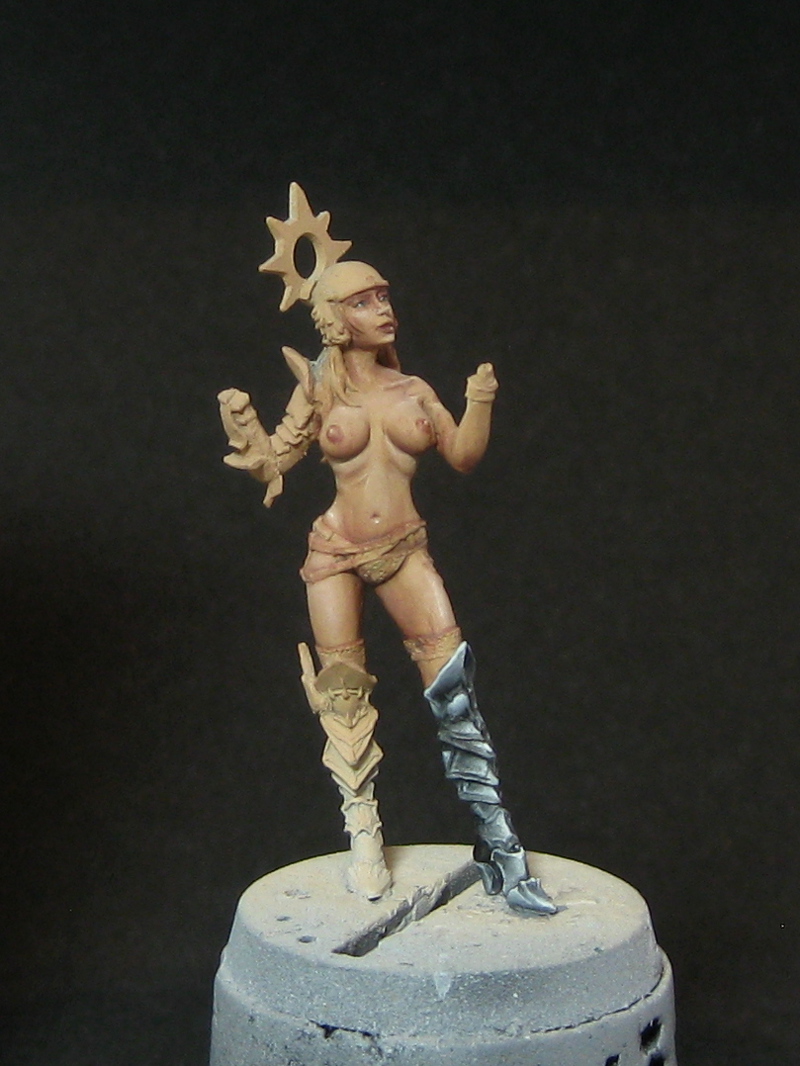
After painting her flesh, the next most significant area of the model is her armour, which as you can see from the artwork is a dark steel colour with gold trim. This part of the tutorial series is a step-by step focusing on painting non-metallic steel on the armour of her left leg.
Paints used:
White
Vallejo Model Colour (VMC) Pale Greyblue
VMC London Grey
VMC Grey Green
Black Grey
Black
I tend to paint my non-metallic steel in a different way to my flesh tones. This is mainly due to the fact that I find that a lot of grey paint seems to split at the sort of high dilutions I normally use. What I do instead is mix up a range of colours on my pallet and work with less dilute paint, layering the progressively lighter or darker colours and then ‘feathering’ the edge with a clean, moist brush.

Feathering is a technique where you use a second brush (or the same brush if you are a brush-licker) to soften the hard edge of a layer of paint you have just painted. In essence you run the clean brush along the edge of the paint and let the moistness draw the paint out to create a semi-transparent area. You have to be quite quick, as you need to work before the paint dries.
I start by painting the area in a mid grey – VMC London Grey in this instance. This is one step where I use diluted paint and many layers to get even coverage and an even finish.
With NMM, one of the most important parts of the technique which stops it looking like it is just ‘grey’ is contrast, so with everything NMM we paint, I like to make sure my darkest shadows are always black, and my highlights are pure white. The other important thing is the position of the highlights. With this in mind, I break with my usual habit of shade first and start with the first highlight. For this I use a mix of VMC London Grey and VMC Pale Greyblue.

I use progressively more of the Pale Greyblue in the mix and work in smaller areas to keep the highlights smooth. To give the illusion of a reflective material, I have made sure all of my highlights are positioned in a similar way on each of the armour plates which are at the same angle.
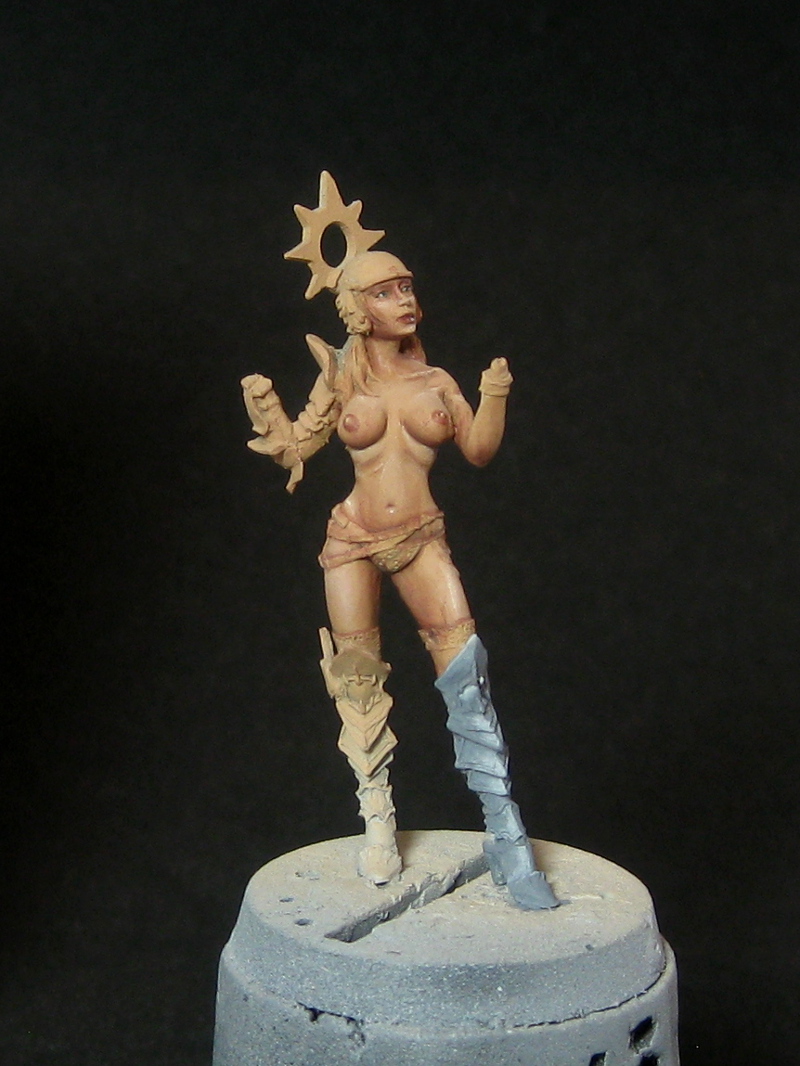
The final highlight at this point is pure Pale Greyblue on the very edges.
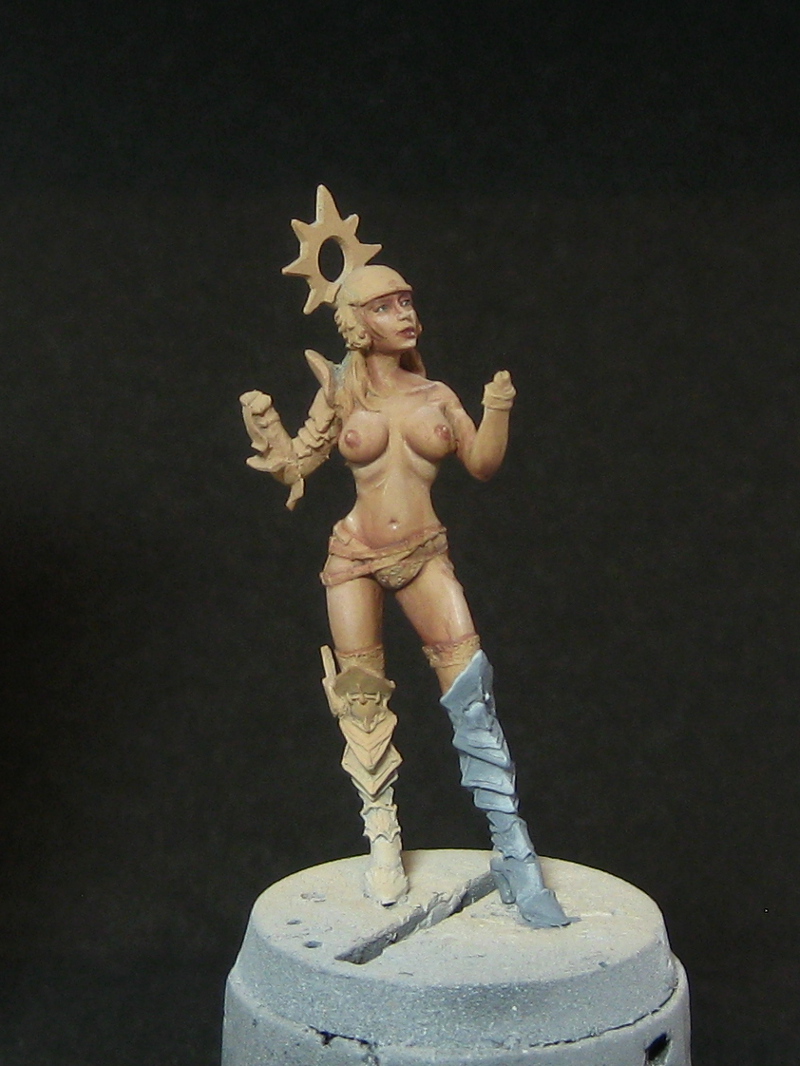
Now to work on the shadows. The first colour I use is Grey Green, and I work this on the opposite side of the armour plate to the highlights.

In a similar way to how we layered the highlights we again work in more dark colours, and work in a progressively smaller area. Black Grey is the next layer, and it is at this point the reflectiveness starts to become more obvious.
Now using pure Black Grey we deepen the shadow further.

The last shadow we add is pure black. This is quite a big jump but really has a huge impact on the contrast. I also edge around many of the armour plates in Pale Greyblue (as it is still on my pallet) to enhance the contrast in the darker areas (a bright edge against the dark shadow)

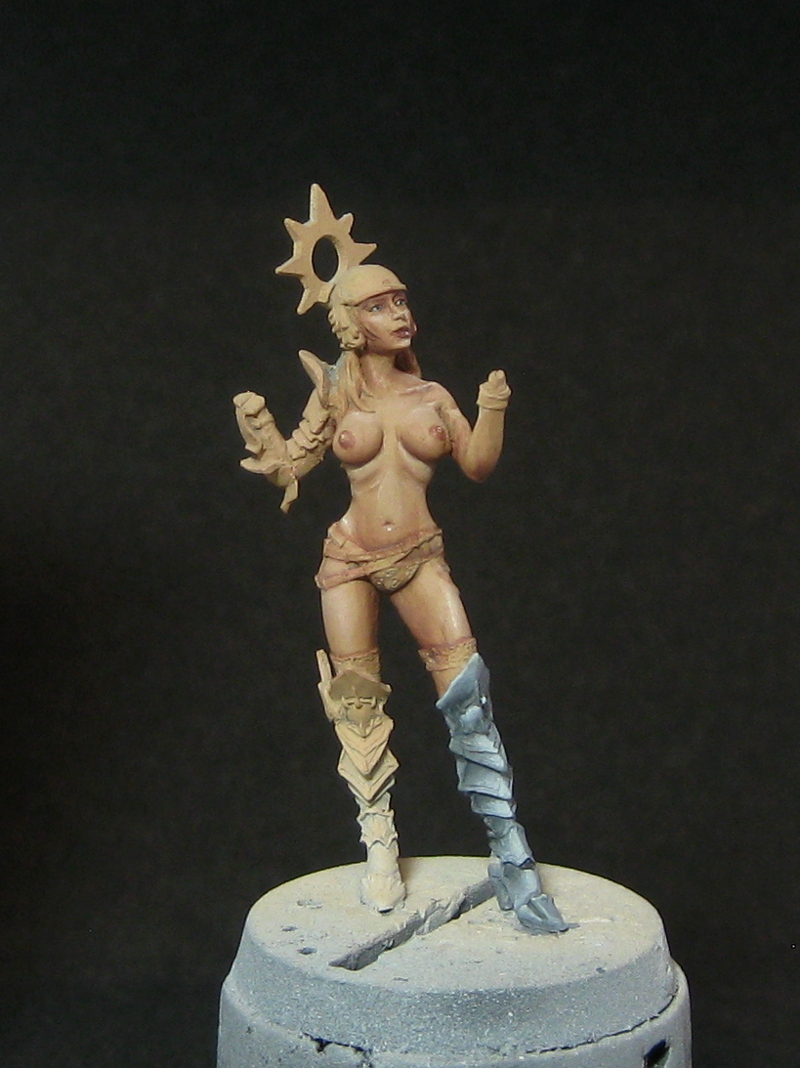
Here, I spent some time making the gradient from dark-light smoother using the different colours on my pallet. More black is also added to the shadows, and more edge highlighting is done.

The final stage is to add some pure white highlights to certain edges and points on the armour to make that final push for extreme contrast.
At this point the steel on her leg armour is done, and the next step is to work on the gold detail.
