Painting non-metallic gold follows very much the same principals as painting Steel. So much of it is about the contrast – dark shadows and bright light spots. The other important thing is following the same highlights and shadows as the steel that you have already painted.
Paints Used:
White
VMC Ivory
Citadel Screaming Skull
Citadel Balor Brown
Citadel XV-88
Citadel Mournfang Brown
Citadel Rhinox Hide
Black
Citadel Lamenters Yellow
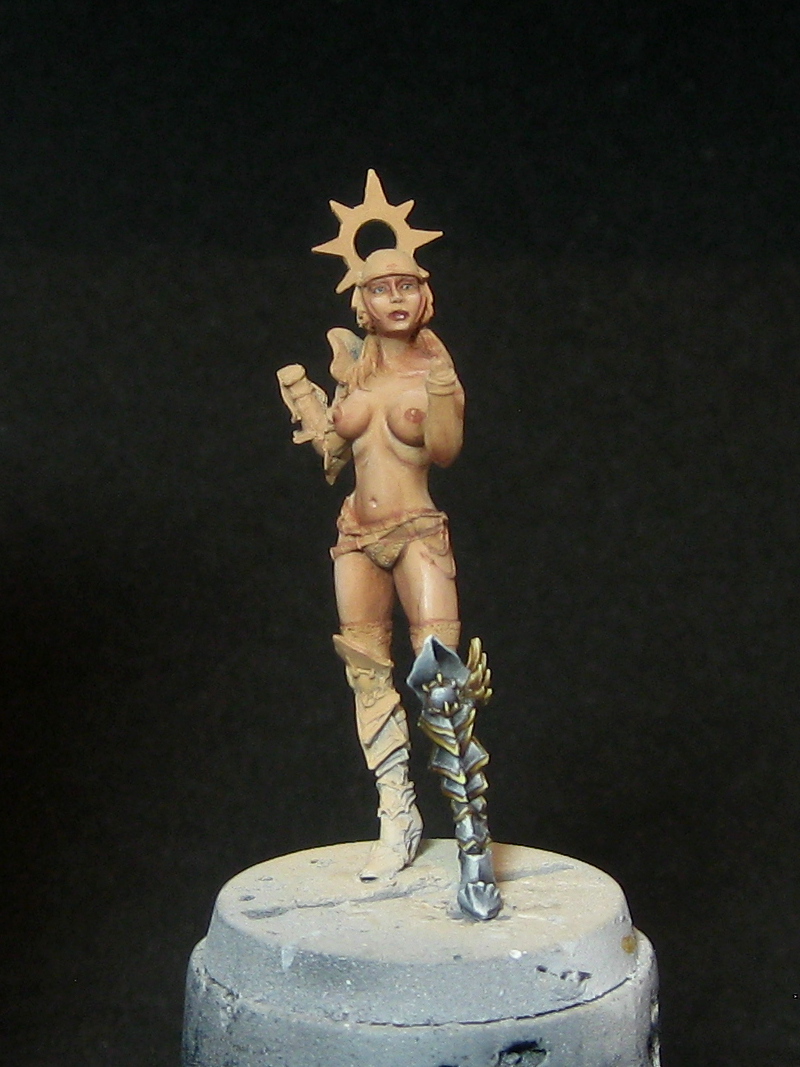
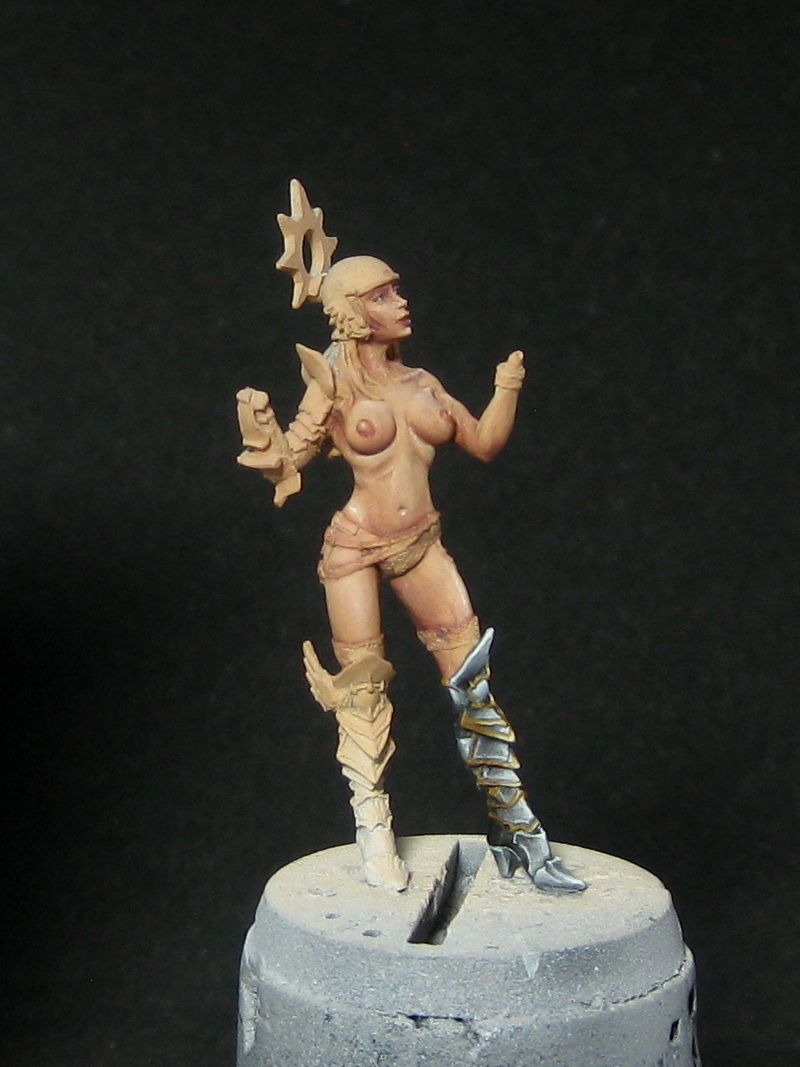
I started with XV-88 and painted all the intended gold areas on her leg with a nice flat, even coverage.


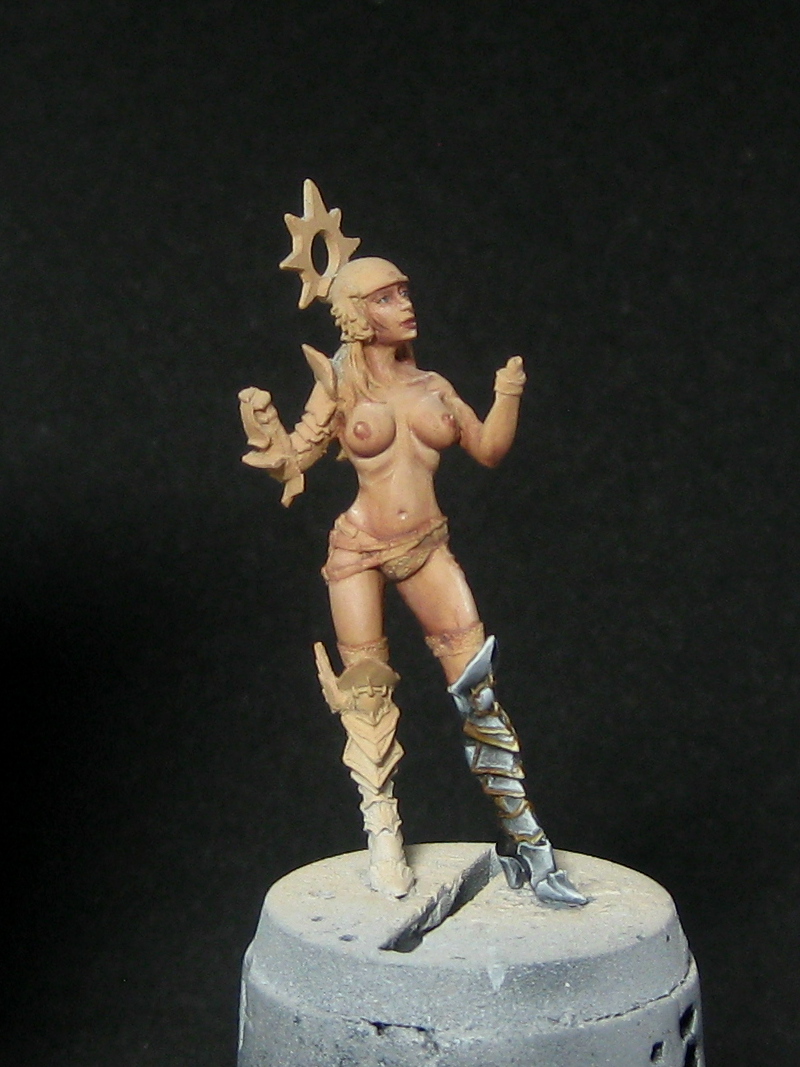
The next stages are the first few layers of highlights, starting with Balor Brown. To emphasise the reflective nature, highlight the same areas as you did with the steel non-metallics. This first stage is quite subtle, so may not show up so well in these photos, but it really helps when moving into the lighter colours.
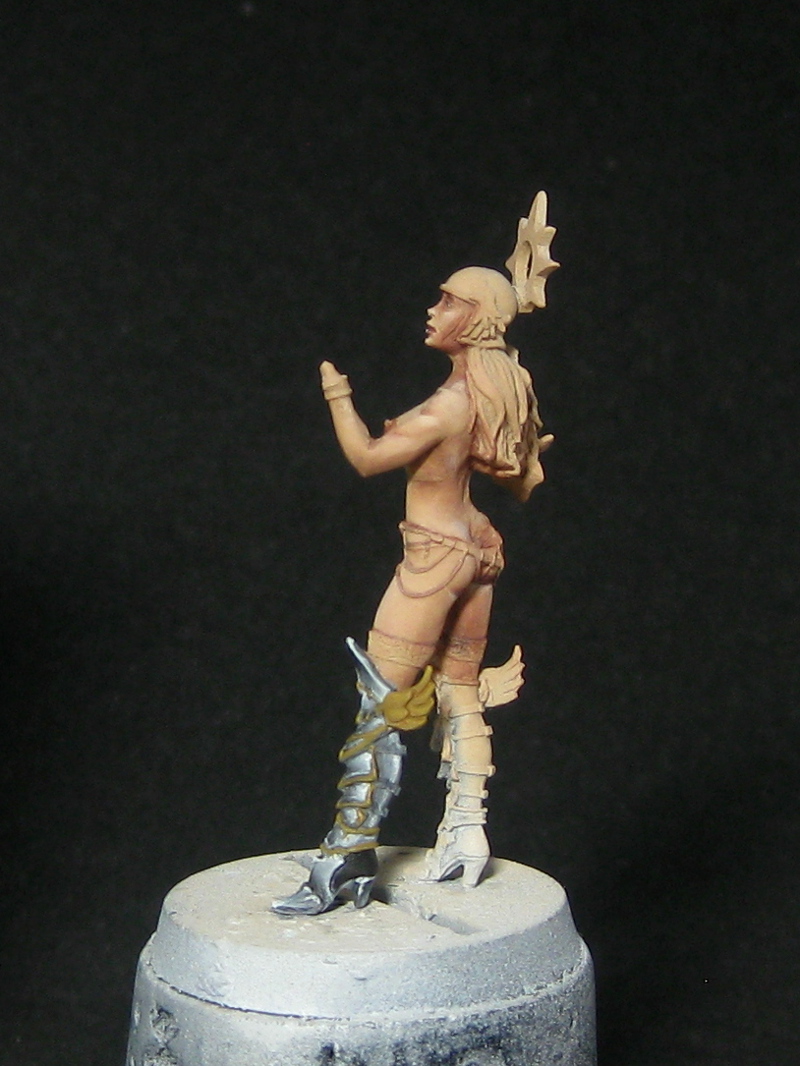

Screaming Skull is the next stage of highlight, and this one is a lot more obvious than the last stage. Focus more on the edge and tips of the armour plates. As with the non-metallic steel, I used a feathering technique to make sure the blends were smooth.
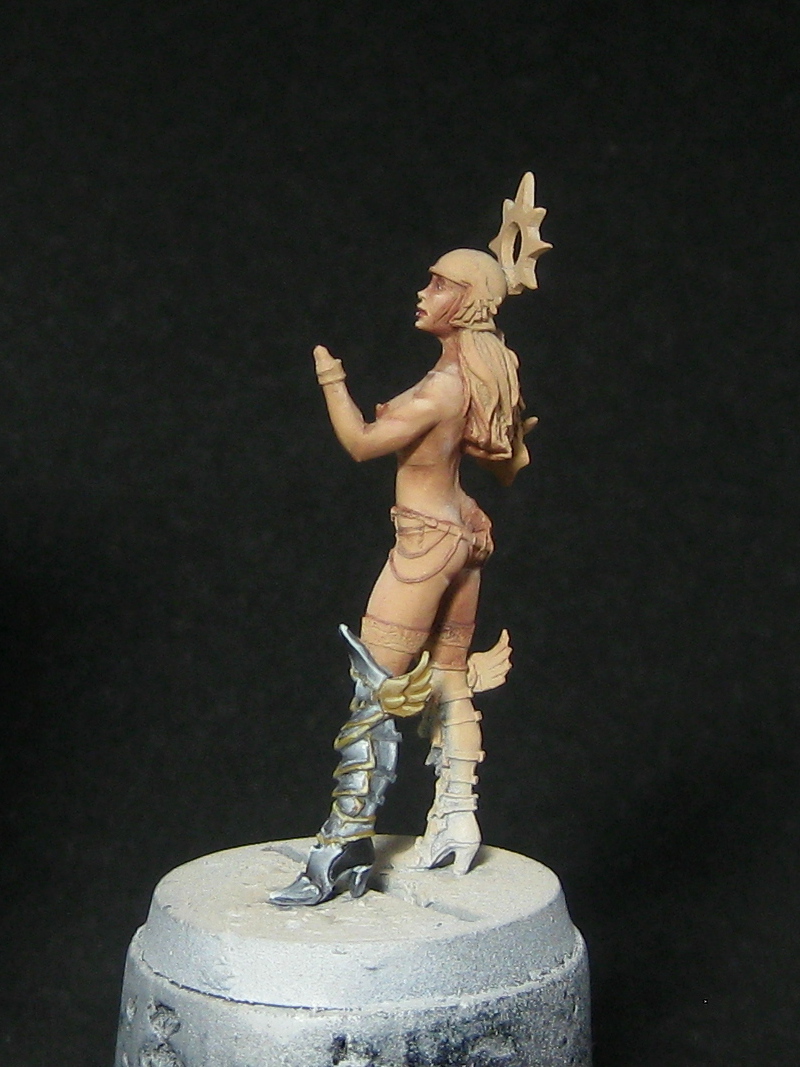
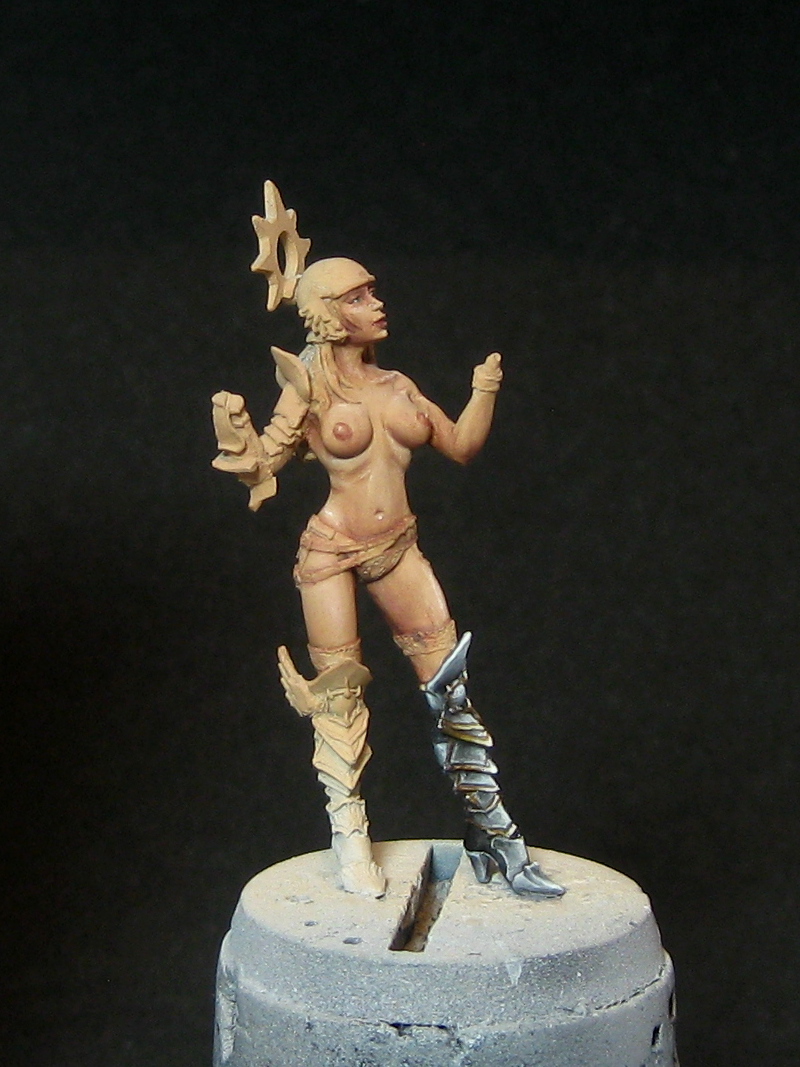
Sea-sawing between highlights and shadows to create a balance between the two, I moved onto the first shade – Mournfang Brown. I work this colour into the areas opposite to the highlights.

The next shadow is Rhinox Hide. This is layered on top of the Mournfang Brown but painted deeper into the shadows. It is at this stage that the contrast really starts to pick up.

Back to the highlights – Vallejo Model Colour Ivory is used to pick out the brightest edges.


As we did with the steel non-metallic, the last shadow is black. This is painted in quite sparingly so as not to overpower the browns. To help with this I use more of a glazing technique (similar to the way we painted the flesh) rather than painting in solid black and feathering the edge.


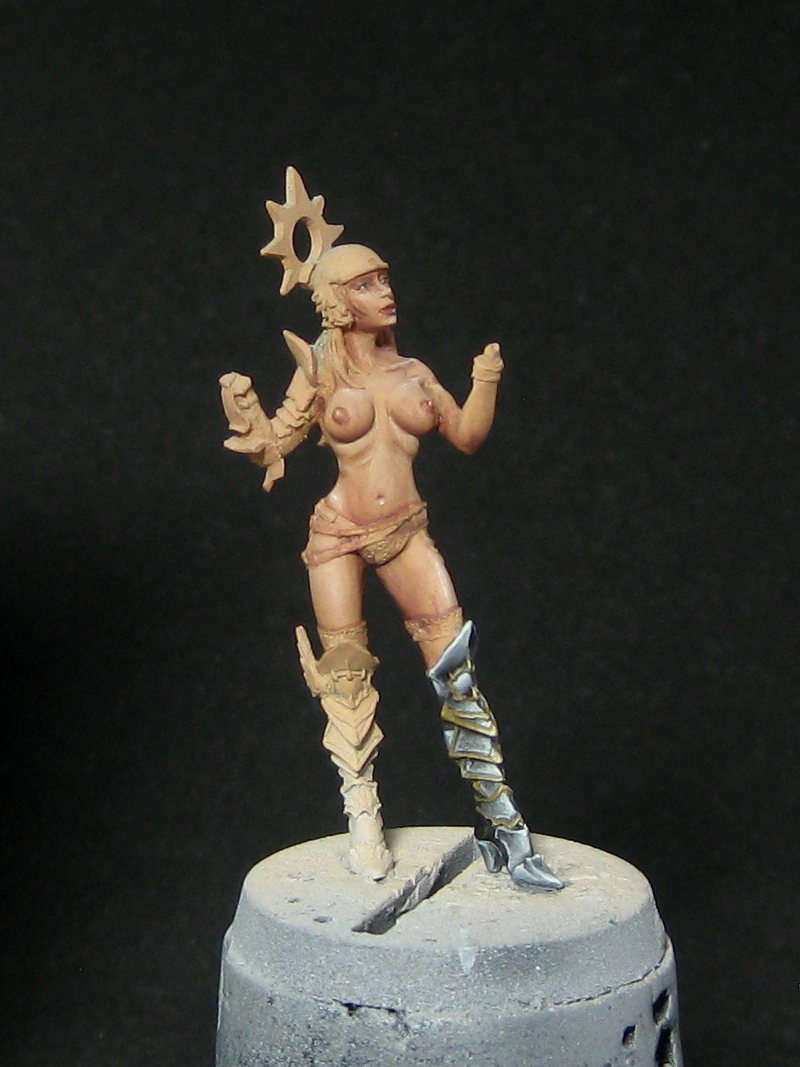
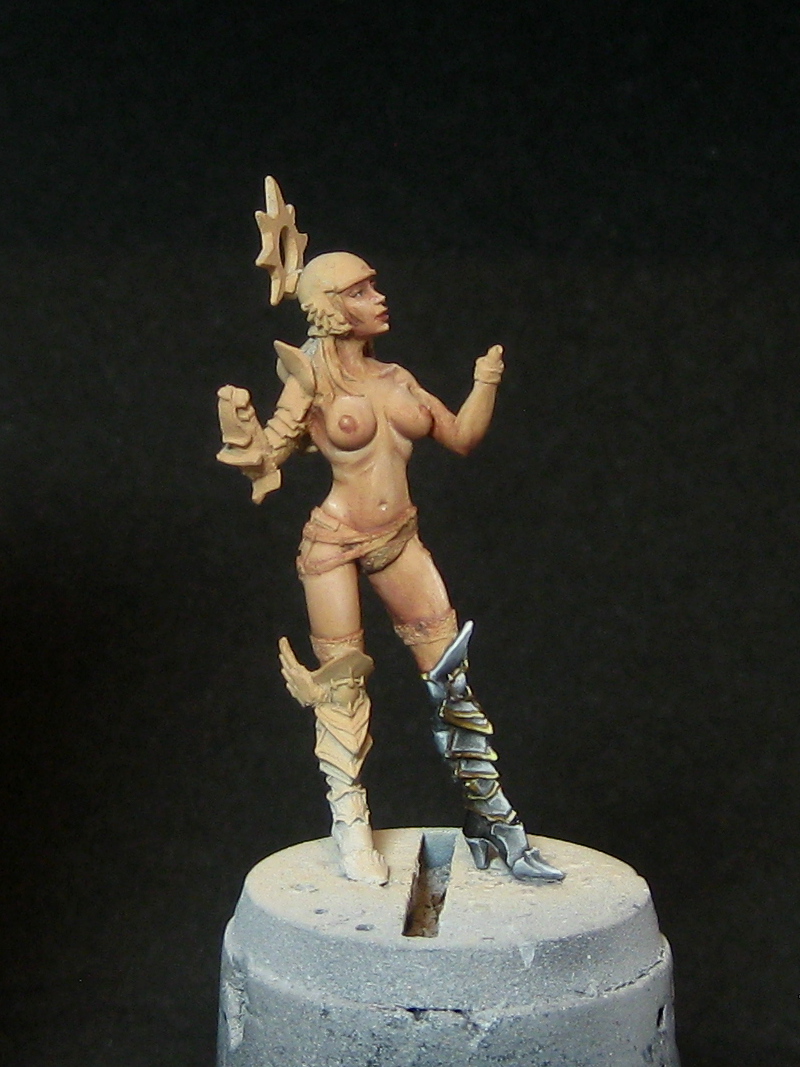
White final highlights are painted on the sharp points such as the tips of the wings and some tiny pinpoint highlights on some of the edges on the shaded areas.

This is the point where I really diverge from the techniques used in the NMM steel… a coloured glaze to shift the tone from brown to a more golden yellow colour. The Lamenters Yellow Glaze is painted all over the gold areas. The real trick to this is not overloading your brush with the glaze as it shouldn’t flood the area like a wash, but should just tint the colour underneath.

The wet pallet showing all of the colours laid out at the end of the painting session.
The top row left to right: Black, Lamenters Yellow, White and Ivory.
The bottom layer left to right: Rhinox Hide, Mournfang Brown, XV-88, Balor Brown and Screaming Skull.

At this point, the gold is done. The next step is to finish the rest of the metal areas (both Gold and Steel) and then start looking at painting the tattoos…