This is the most daunting part of this series of tutorials and is split into three sections, the ‘Martyr’ tattoo, the cross and the gryphon.
When painting line work like these tattoos, it is important not to dilute your paints too much as you don’t want to have to go over the same lines over again.
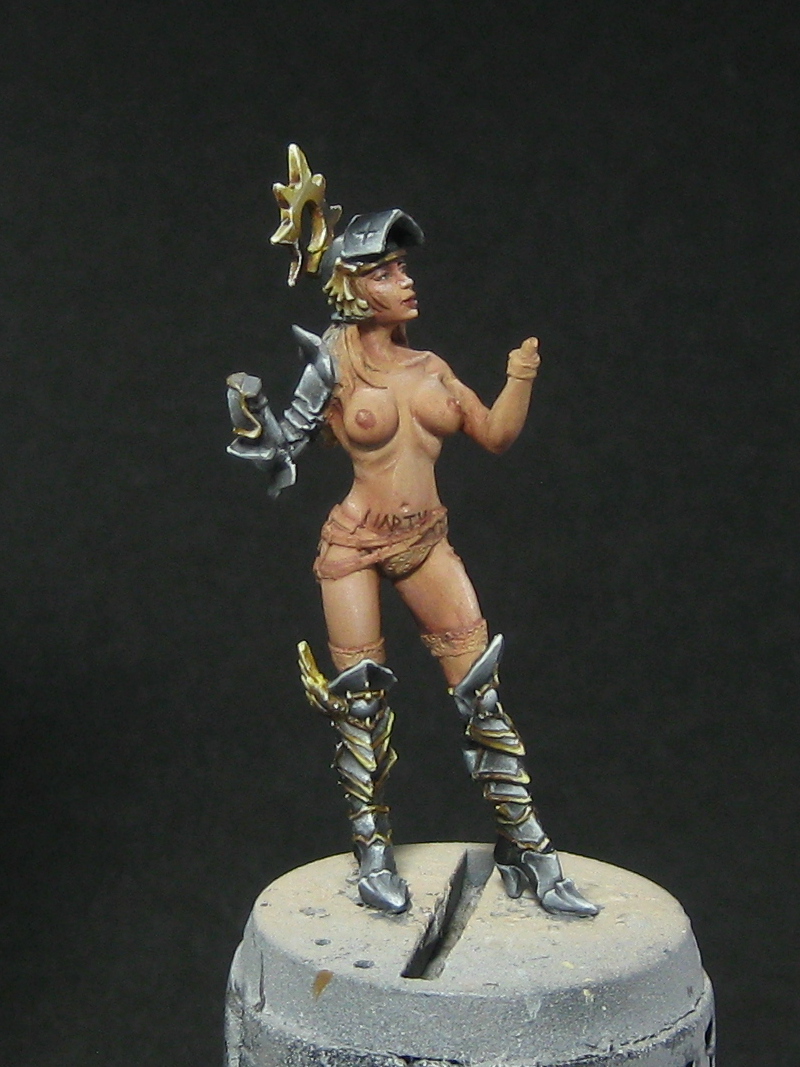
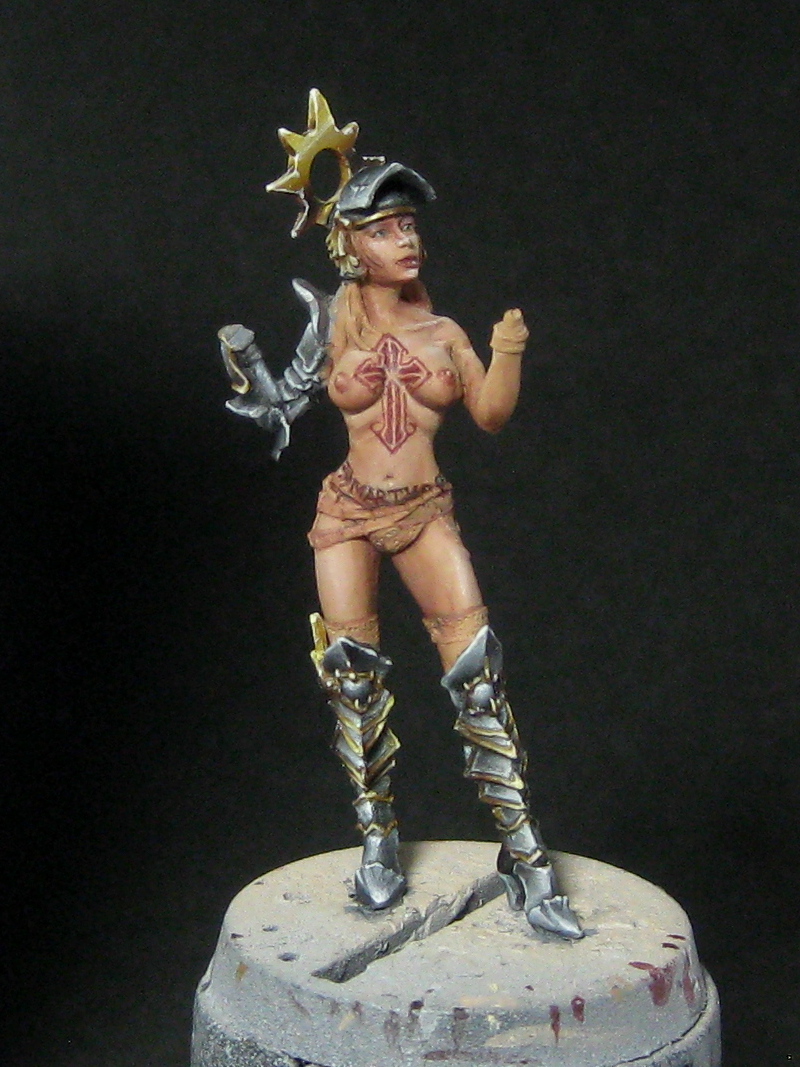
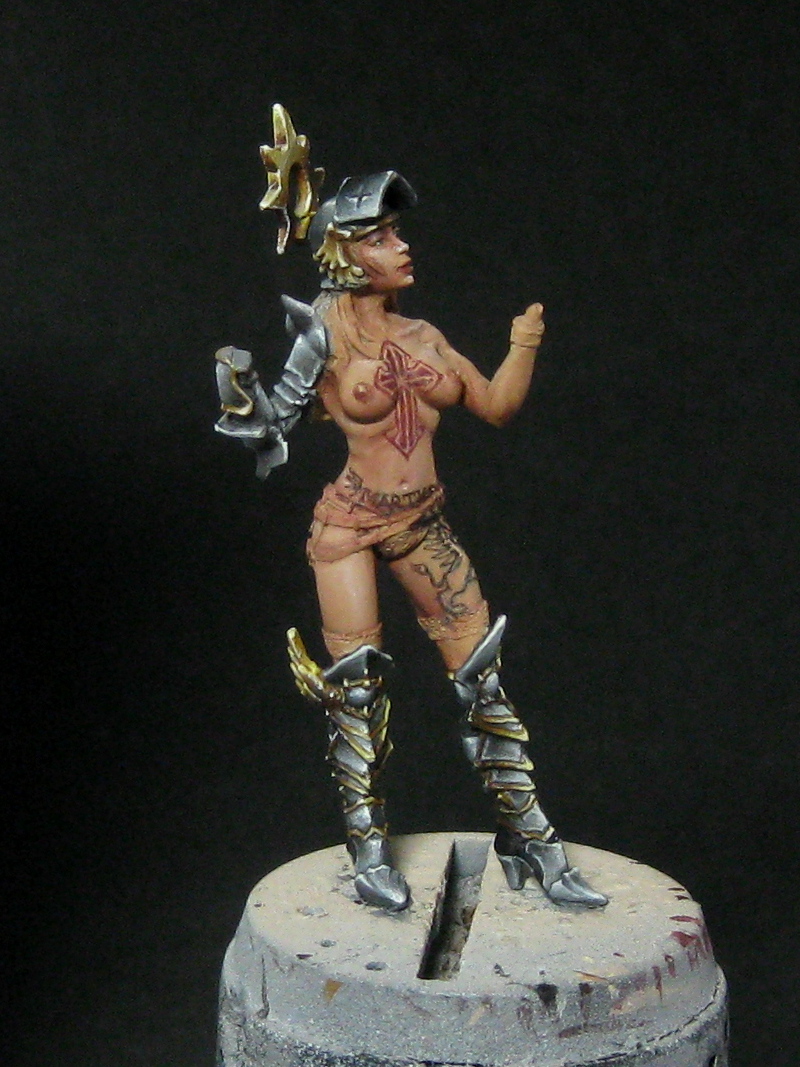
I started with the Martyr text below her belly button. The important part about freehand text is symmetry so instead of starting with the first letter like you normally would, I started in the middle and work my way outwards.
MARTYR has 6 letters, so it is actually the gap between the R and T which is the centre of the word, so I concentrated on the R and T first and then blocked in the main strokes of the other letters afterwards (such as the vertical lines of the M and the diagonals of the A and Y).
The next stage is to paint in the secondary lines (crossing the A and the diagonals for the M). I also painted in the serifs at this step.

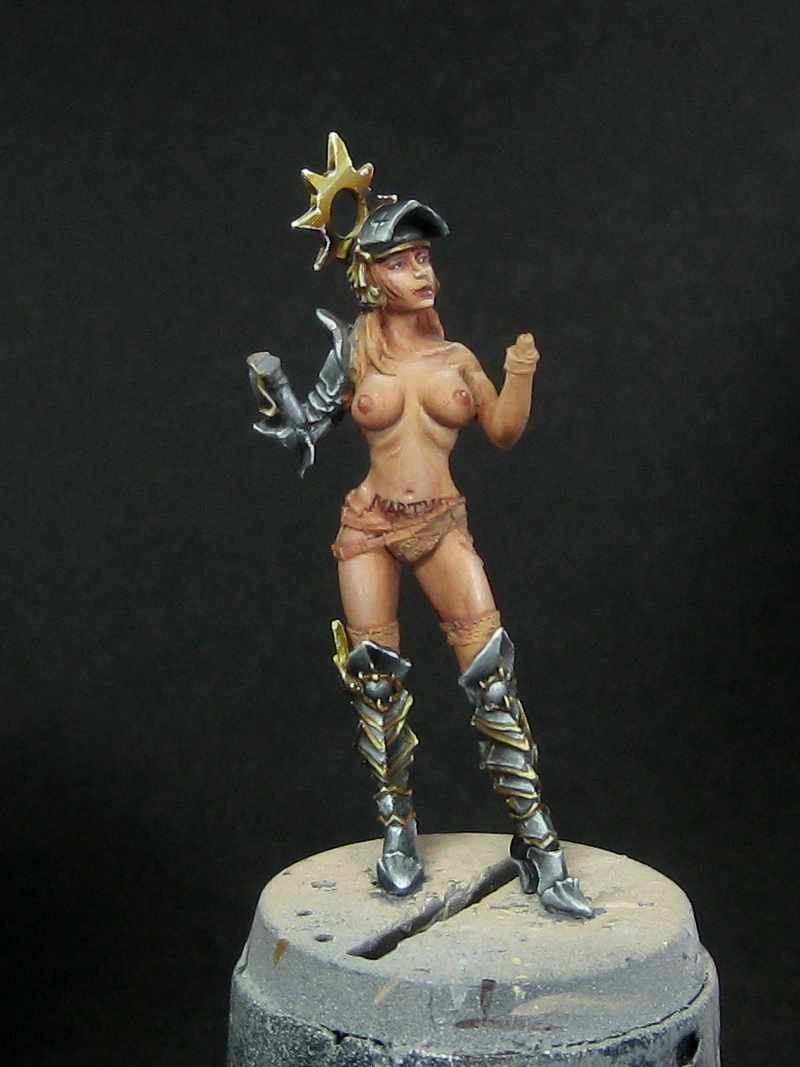
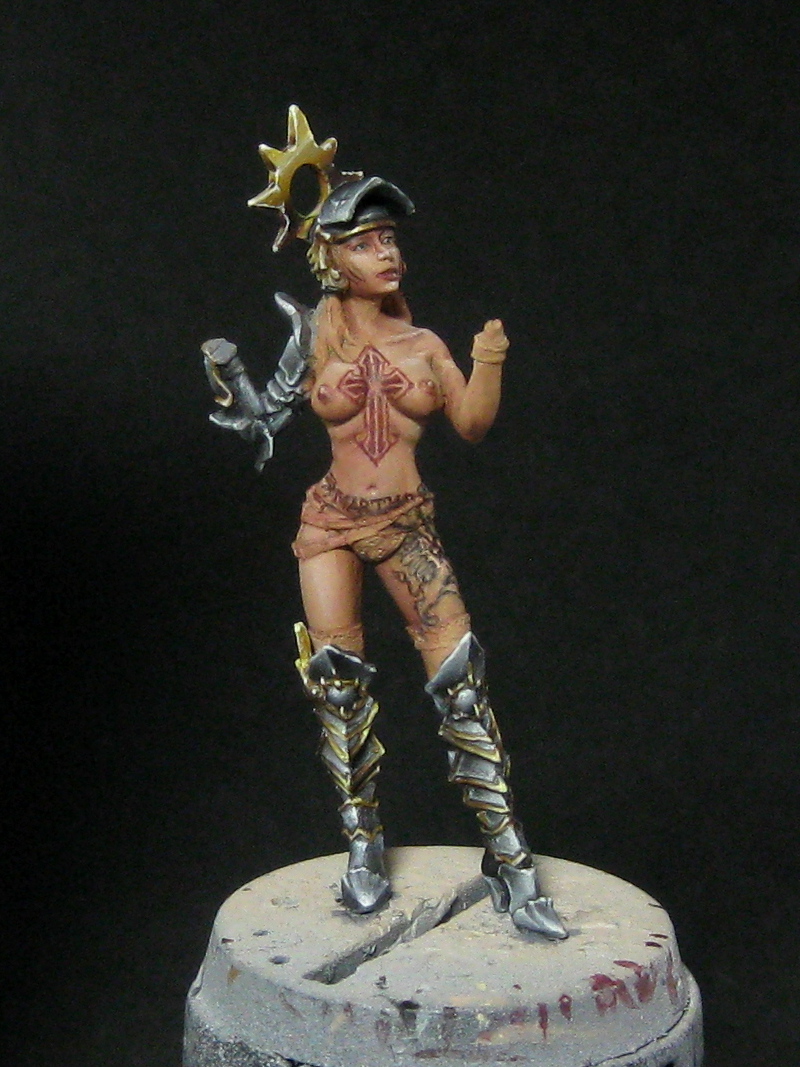
Now to start the wings. The first lines I painted in were the top lines in preparation for adding the feathers. I did this on both sides to maintain the balance.

I then painted in the feathers.

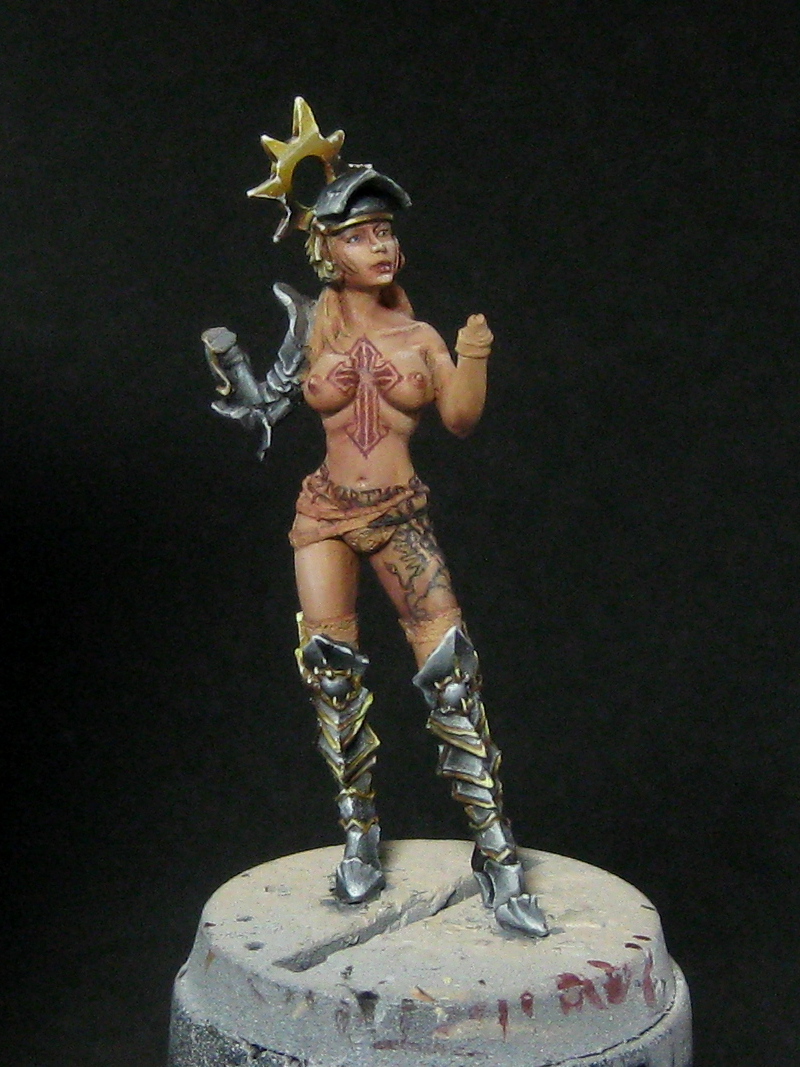
The cross was the next tattoo I tackled. I started by painting in 4 dots to set the size of the cross.

I then painted the two vertical lines and added the wedge shapes to the bottom. Then I added the V shape.
I repeated this process 3 more times (once for each of the points of the cross).

The next stage is to paint in the finer lines, and the loops at the end of the arrow barbs.
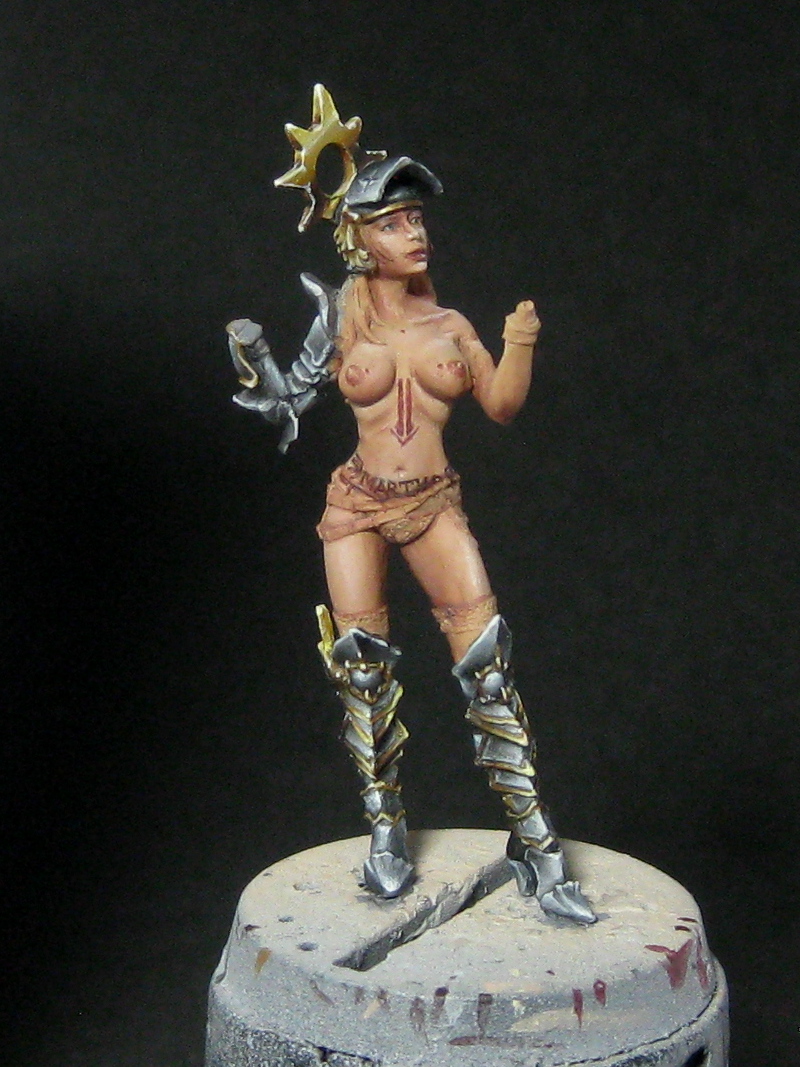
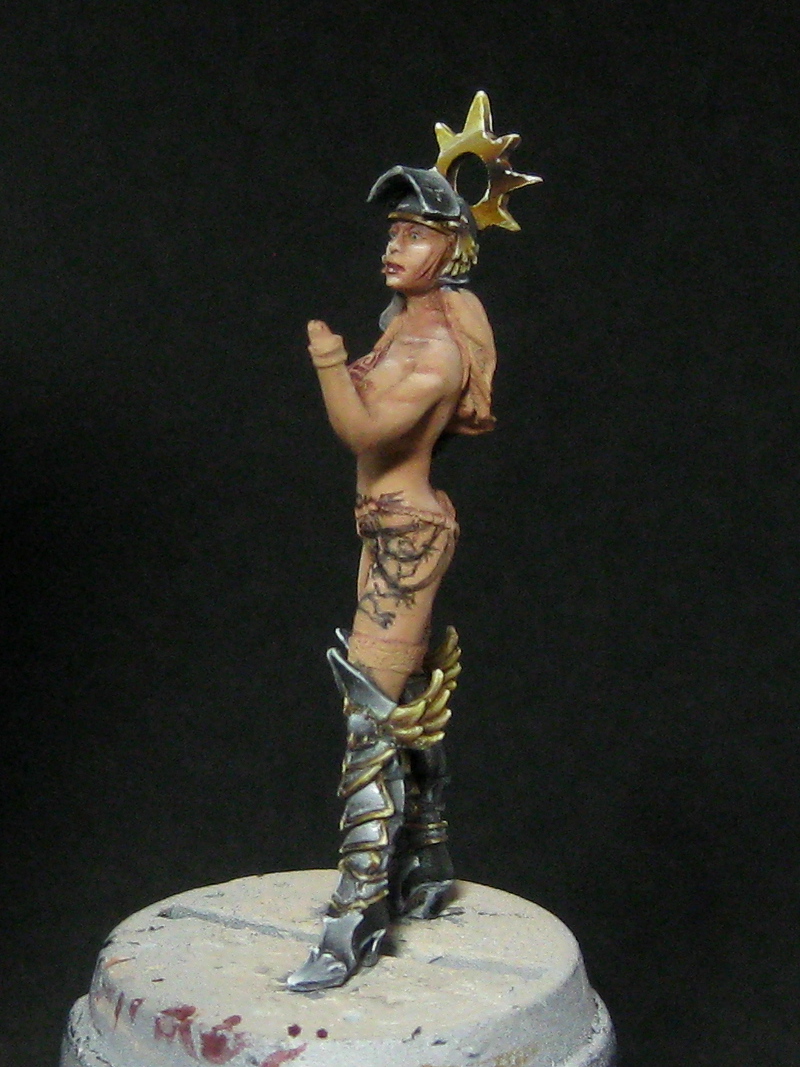
Now onto the most challenging part of the paint-job… the gryphon. I started in a similar way to the cross, with a number of dots to represent where certain landmarks of the tattoo will be.


You will notice that there is a big jump in these photos – I basically ‘joined the dots’ following the design on the original artwork. The techniques are no different to the other tattoos, it is just a lot more complex.

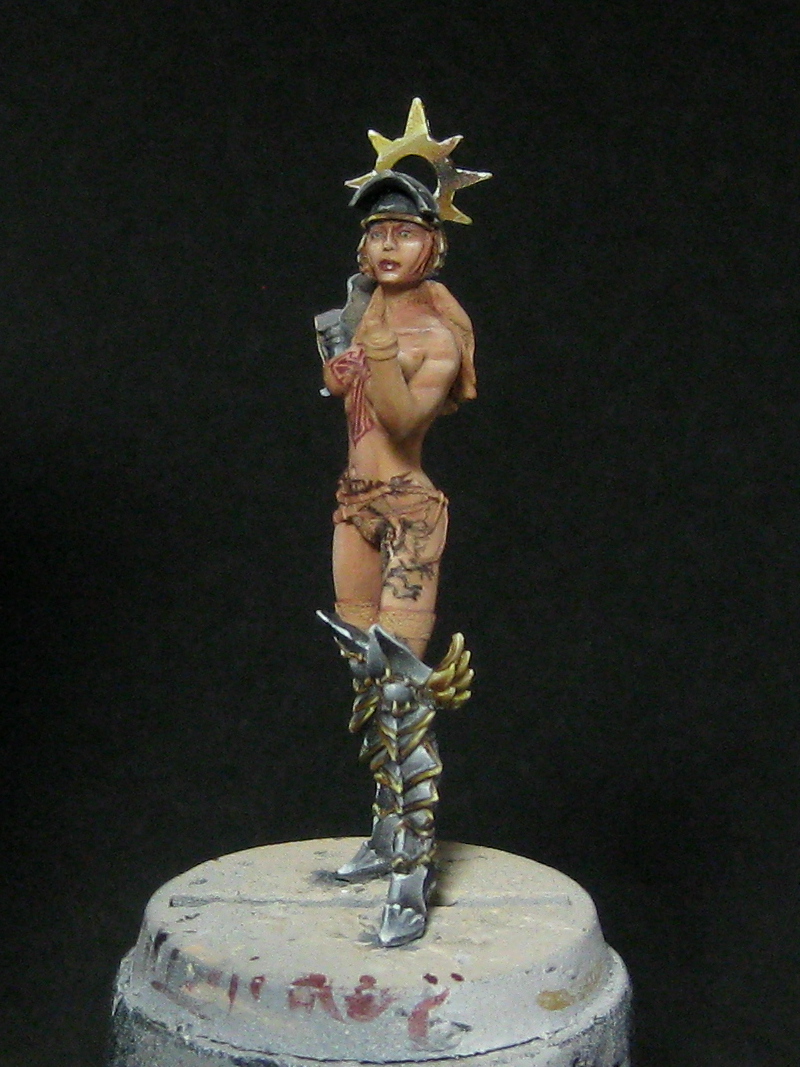
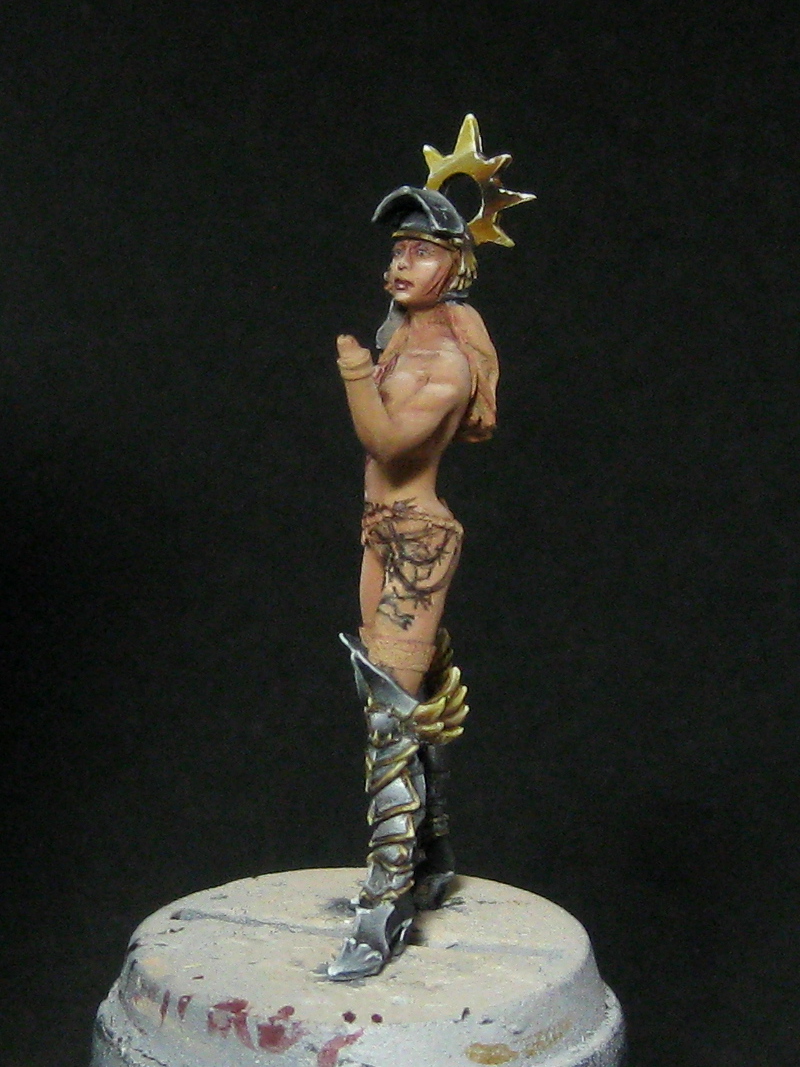
I had to repaint a number of the areas and refine the lines as I went along. I had to do this quite a lot with the gryphon… the area is so small, and has some details hanging from her belt which got in the way. I will need to re-shade the area after the tattoo is complete.
Here I decided to paint out the feathers of the wing entirely, as the feathers were too large compared to the rest of the gryphon.

I painted much finer feathers onto the wing, and made all of the lines bolder.
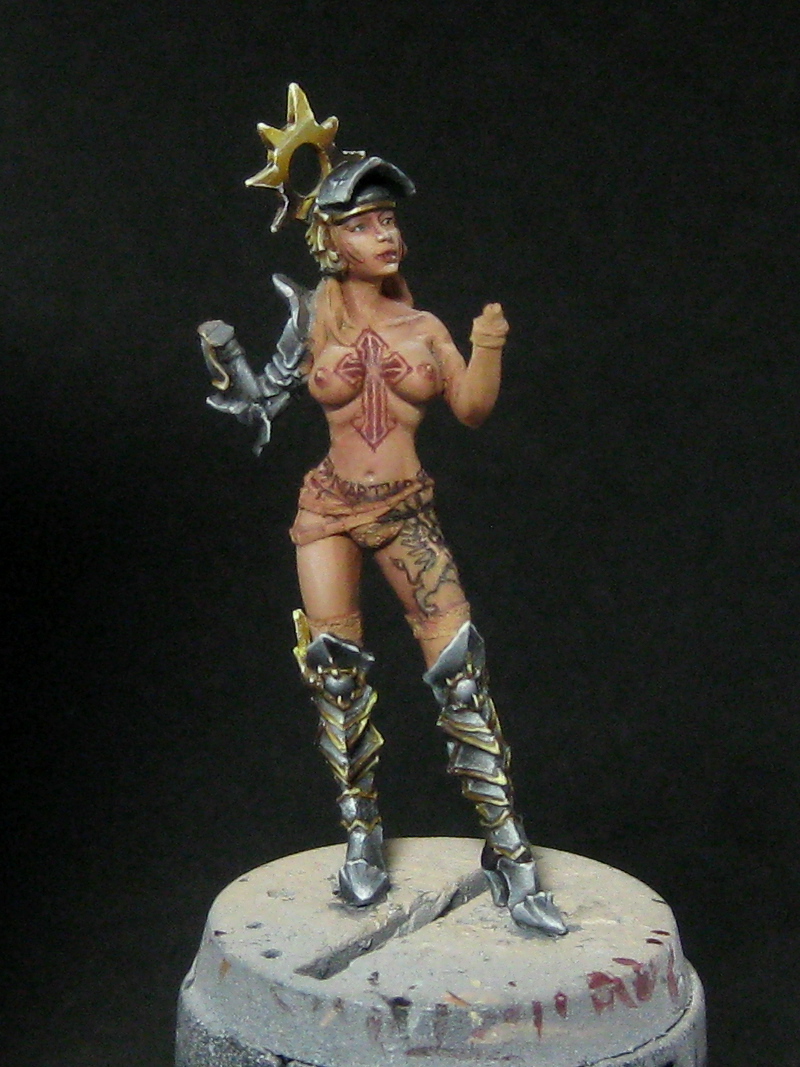
Finally I re-shaded the tattoo areas to make sure any corrections I had to make as I went on were covered. And that is the tattoos section complete.